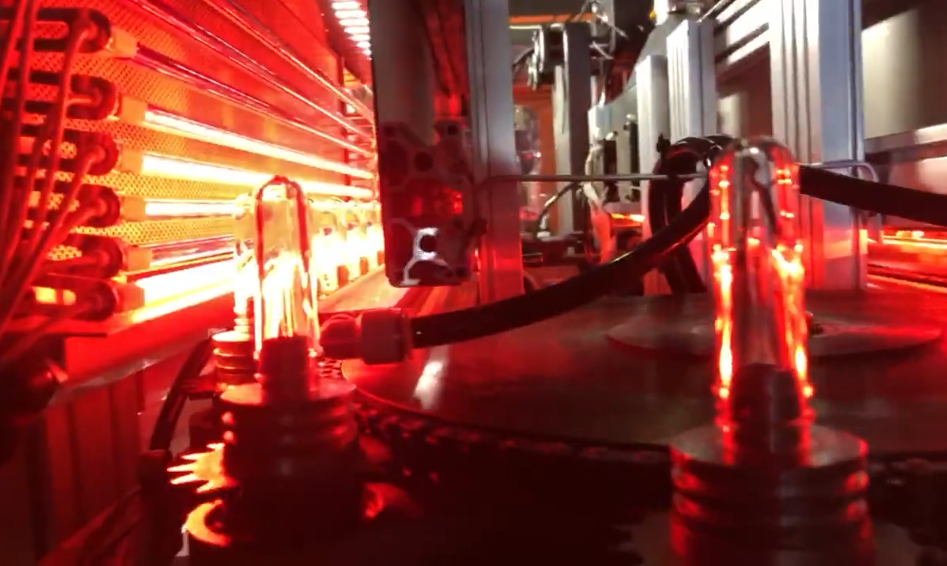
Getting the Heat Right for Your Sidel Matrix
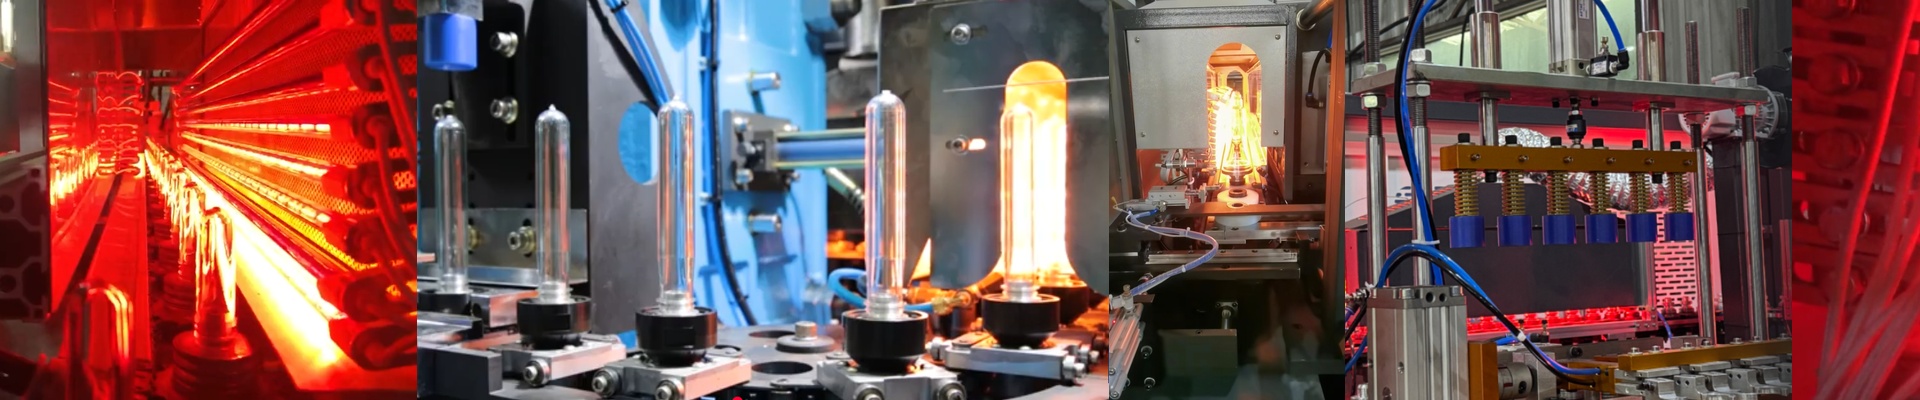
Here is the real headache when you swap out OEM lamps in a Sidel Matrix oven: the temperature curve. If the infrared emission or heat density is off by even a tiny bit, your preforms start acting up. You end up with uneven walls, and before you know it, you’re dealing with burst bottles. Not a great way to start a shift.
Why “Close Enough” Isn’t Good Enough
We don’t just make lamps that fit the socket. That’s the easy part. We obsess over the voltage, wattage, and filament length so the heat flux stays exactly where it needs to be. When the power density is a mirror image of the original spec, the ramp-up time and peak temperatures stay the same. It just works.
The Nitty-Gritty on Quartz and Coatings
We use high-purity quartz glass because these things take a beating with rapid heating and cooling. Inside, the halogen cycle stops the filament from evaporating too fast, which means your light output stays steady for thousands of hours. Some of our bulbs have special coatings that tweak the IR wavelength. This is key. It helps the heat actually soak into the PET wall instead of just scorching the surface. And for the installation? We use standard R7s or Sk15 connectors. They’re drop-in replacements. No rewiring, no modifying the housing, no fuss.
A Quick Reality Check
Look, high-wattage IR lamps put out a massive amount of heat. That puts a lot of pressure on your oven’s ventilation. If your cooling fans are clogged or on their last legs, these lamps will bake your surrounding components—no matter how perfect the thermal curve is. Keep your airflow clear, or you’ll be replacing bulbs way sooner than you should. The best part about matching the OEM curve is the time you save. You don’t have to spend half your day recalibrating heating zones. You just plug them in and get back to work.